 Everest Rubber Company LLC
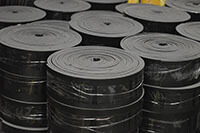
Rubber sheets and rolls at Everest Rubber Company LLC
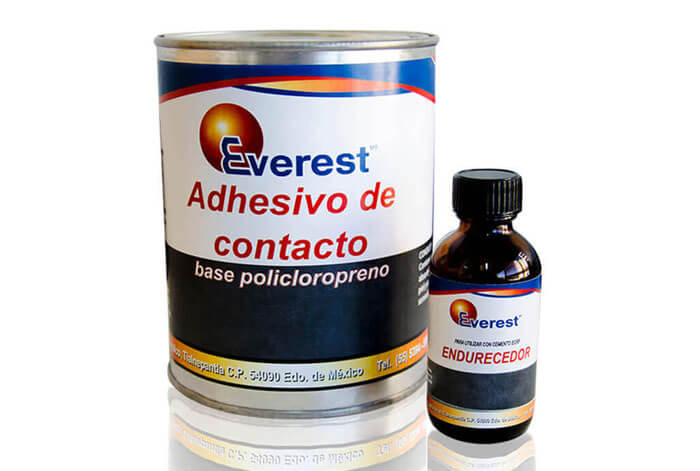
TIPS FOR USING COLD BONDING CEMENTS
The preparation of both the surface and the rubber is PRIMORDIAL to ensure the effectiveness of the cement.
- Sand or polish with a sandpaper (or stone disc) always in a circular way the surface where the rubber will be glued.
- Remove perfectly with a dry brush all the residue generated by the sanding.
- Clean the surface perfectly with toluene (solvent), using a lint-free pad or sponge. Do not use cheesecloth. Let the solvent evaporate for 40 to 60 seconds.
- Apply a coat of Primer* (sealer) on the surface to promote better adhesion, let it dry for 30 to 40 minutes.
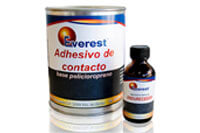
- Previously prepared the COLD GLUE CEMENT (see proportions chart) [1], apply the first coat over the entire surface with a dry brush taking care to apply a homogeneous coat that covers the area perfectly. Allow to dry or air for 40 to 50 minutes.
- Apply a 2nd obligatory coat of COLD GLUE CEMENT, taking care to cover the areas that were scarce of the material and in a homogeneous way, let dry from 40 to 50 minutes, (the adhesion must be verified to the touch, that is to say, it must feel sticky, but the hand must not adhere completely).
- The preparation of the rubber must be considered simultaneously with the surface where it is going to be glued.
- 7.1. Sand or scrape the rubber on the side to be bonded, either with emery or #G-88 sandpaper, also in a circular fashion until rough or rough to remove the smoothness of the rubber.
- 7.2. Clean the surface perfectly with a dry brush and remove all the residue generated with the sanding.
- 7.3. It is necessary to verify that the rubber loses its smooth form and takes a rough surface, since this will improve the grip.
- 7.4. Do not apply primer* (sealer) on the rubber.
- 7.5. Apply the 2nd layer or coat of COLD GLUE CEMENT on the rubber, it is also mandatory.
- Once the 2 coats of COLD GLUE CEMENT have been applied on both parts. It is important to verify that it feels sticky and that it does not remain completely adhered in the hand.
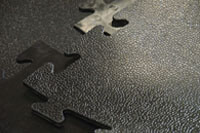
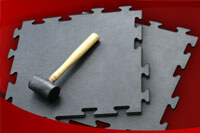
- Proceed to glue the rubber on the surface, align it and hit it with a rubber mallet or use a Sticher (roller) to try to flatten and remove all the air that remains at the moment of the union of the rubber with the surface.
*Primer (primer material used on the metal base to promote better adhesion of the rubber to the metal).
SPECIAL CONSIDERATIONS
- 1) Use gloves and glasses for application.
- 2) After bonding the surfaces, it is suggested to wait 36 to 48 hours to use the containers and smoked equipment.
- 3) The adhesive must be used within 90 minutes of applying the catalyst, otherwise it will harden and will have to be replaced.
- 4) The proportions chart is for one liter, place the proportion according to the area where the COLD GLUE CEMENT is going to be applied.
PROPORTIONS CHART
50 ml of prepared glue per 1m2
Glue or cement 1 Lt. - Catalyst or hardener 35 ml.
Glue or cement 500 ml. - Catalyst or hardener 17.5 ml.
Glue or cement 250 Lt. - Catalyst or hardener 8.75 ml.
CAUTION
Material: Toxic
Highly flammable.
Avoid contact with eyes. May cause severe skin contact irritation. Prolonged inhalation of material may cause drowsiness.

