 Everest Rubber Company LLC
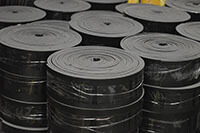
Rubber sheets and rolls at Everest Rubber Company LLC

Tips Installation instructions:
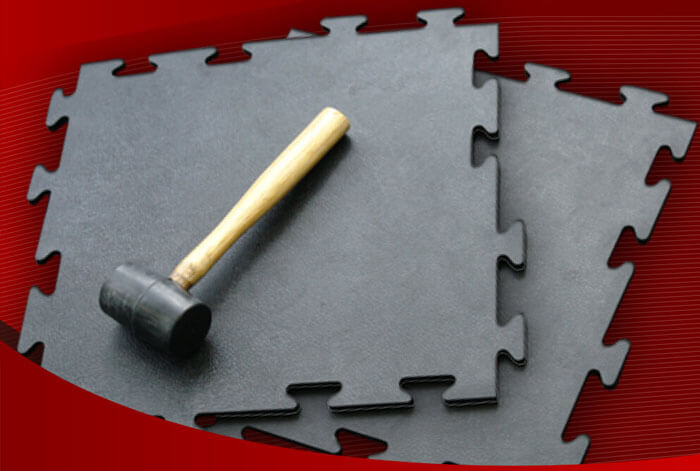
1/4" or 3/8" thick 50cm X 50cm puzzle type gym floor, (Not recycled) serecommend for indoor use.
- -Cuter or sharp razor.
- - 1mt steel ruler.
- - Rubber mallet.
- - Square.
- - Pencil.
- - Flexometer.
- - Protractor (optional for arches / columns).
Room Floor Preparation Dimensions / Tile Layout
- GYM FLOORING can be installed on any relatively smooth, hard surface. This includes on or below grade concrete, wood flooring, plywood, stone, VCT, or ceramic tile. The floor must be free of protruding objects or deep depressions. The floor should be clean, dry and level. Remove dust, debris, moisture, and dust accumulation from all surfaces prior to installation.
- Measure accurately in both directions in the room. Determine the required width of tiles cut around the elements in the layout of the room.
- Starting from one corner of the room, draw a line indicating the location of the edge of the outermost course of full (uncut) tiles. Take a second chalk line perpendicular to the first, indicating the edge of the full (uncut) tile course on the adjacent wall. Use a carpenter's square to make sure the chalk lines are square at the intersection.chalk perpendicular to the first, indicating the edge of the full tile course (without cuts) on the adjacent wall. Use a carpenter's square to make sure the chalk lines are square at the intersection.
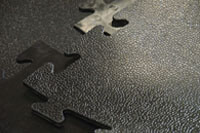
- The mat pieces snap together.


